Add your branding or a personal touch to your Pack. Edit colors, shaders or text displayed in your 3D Scene.
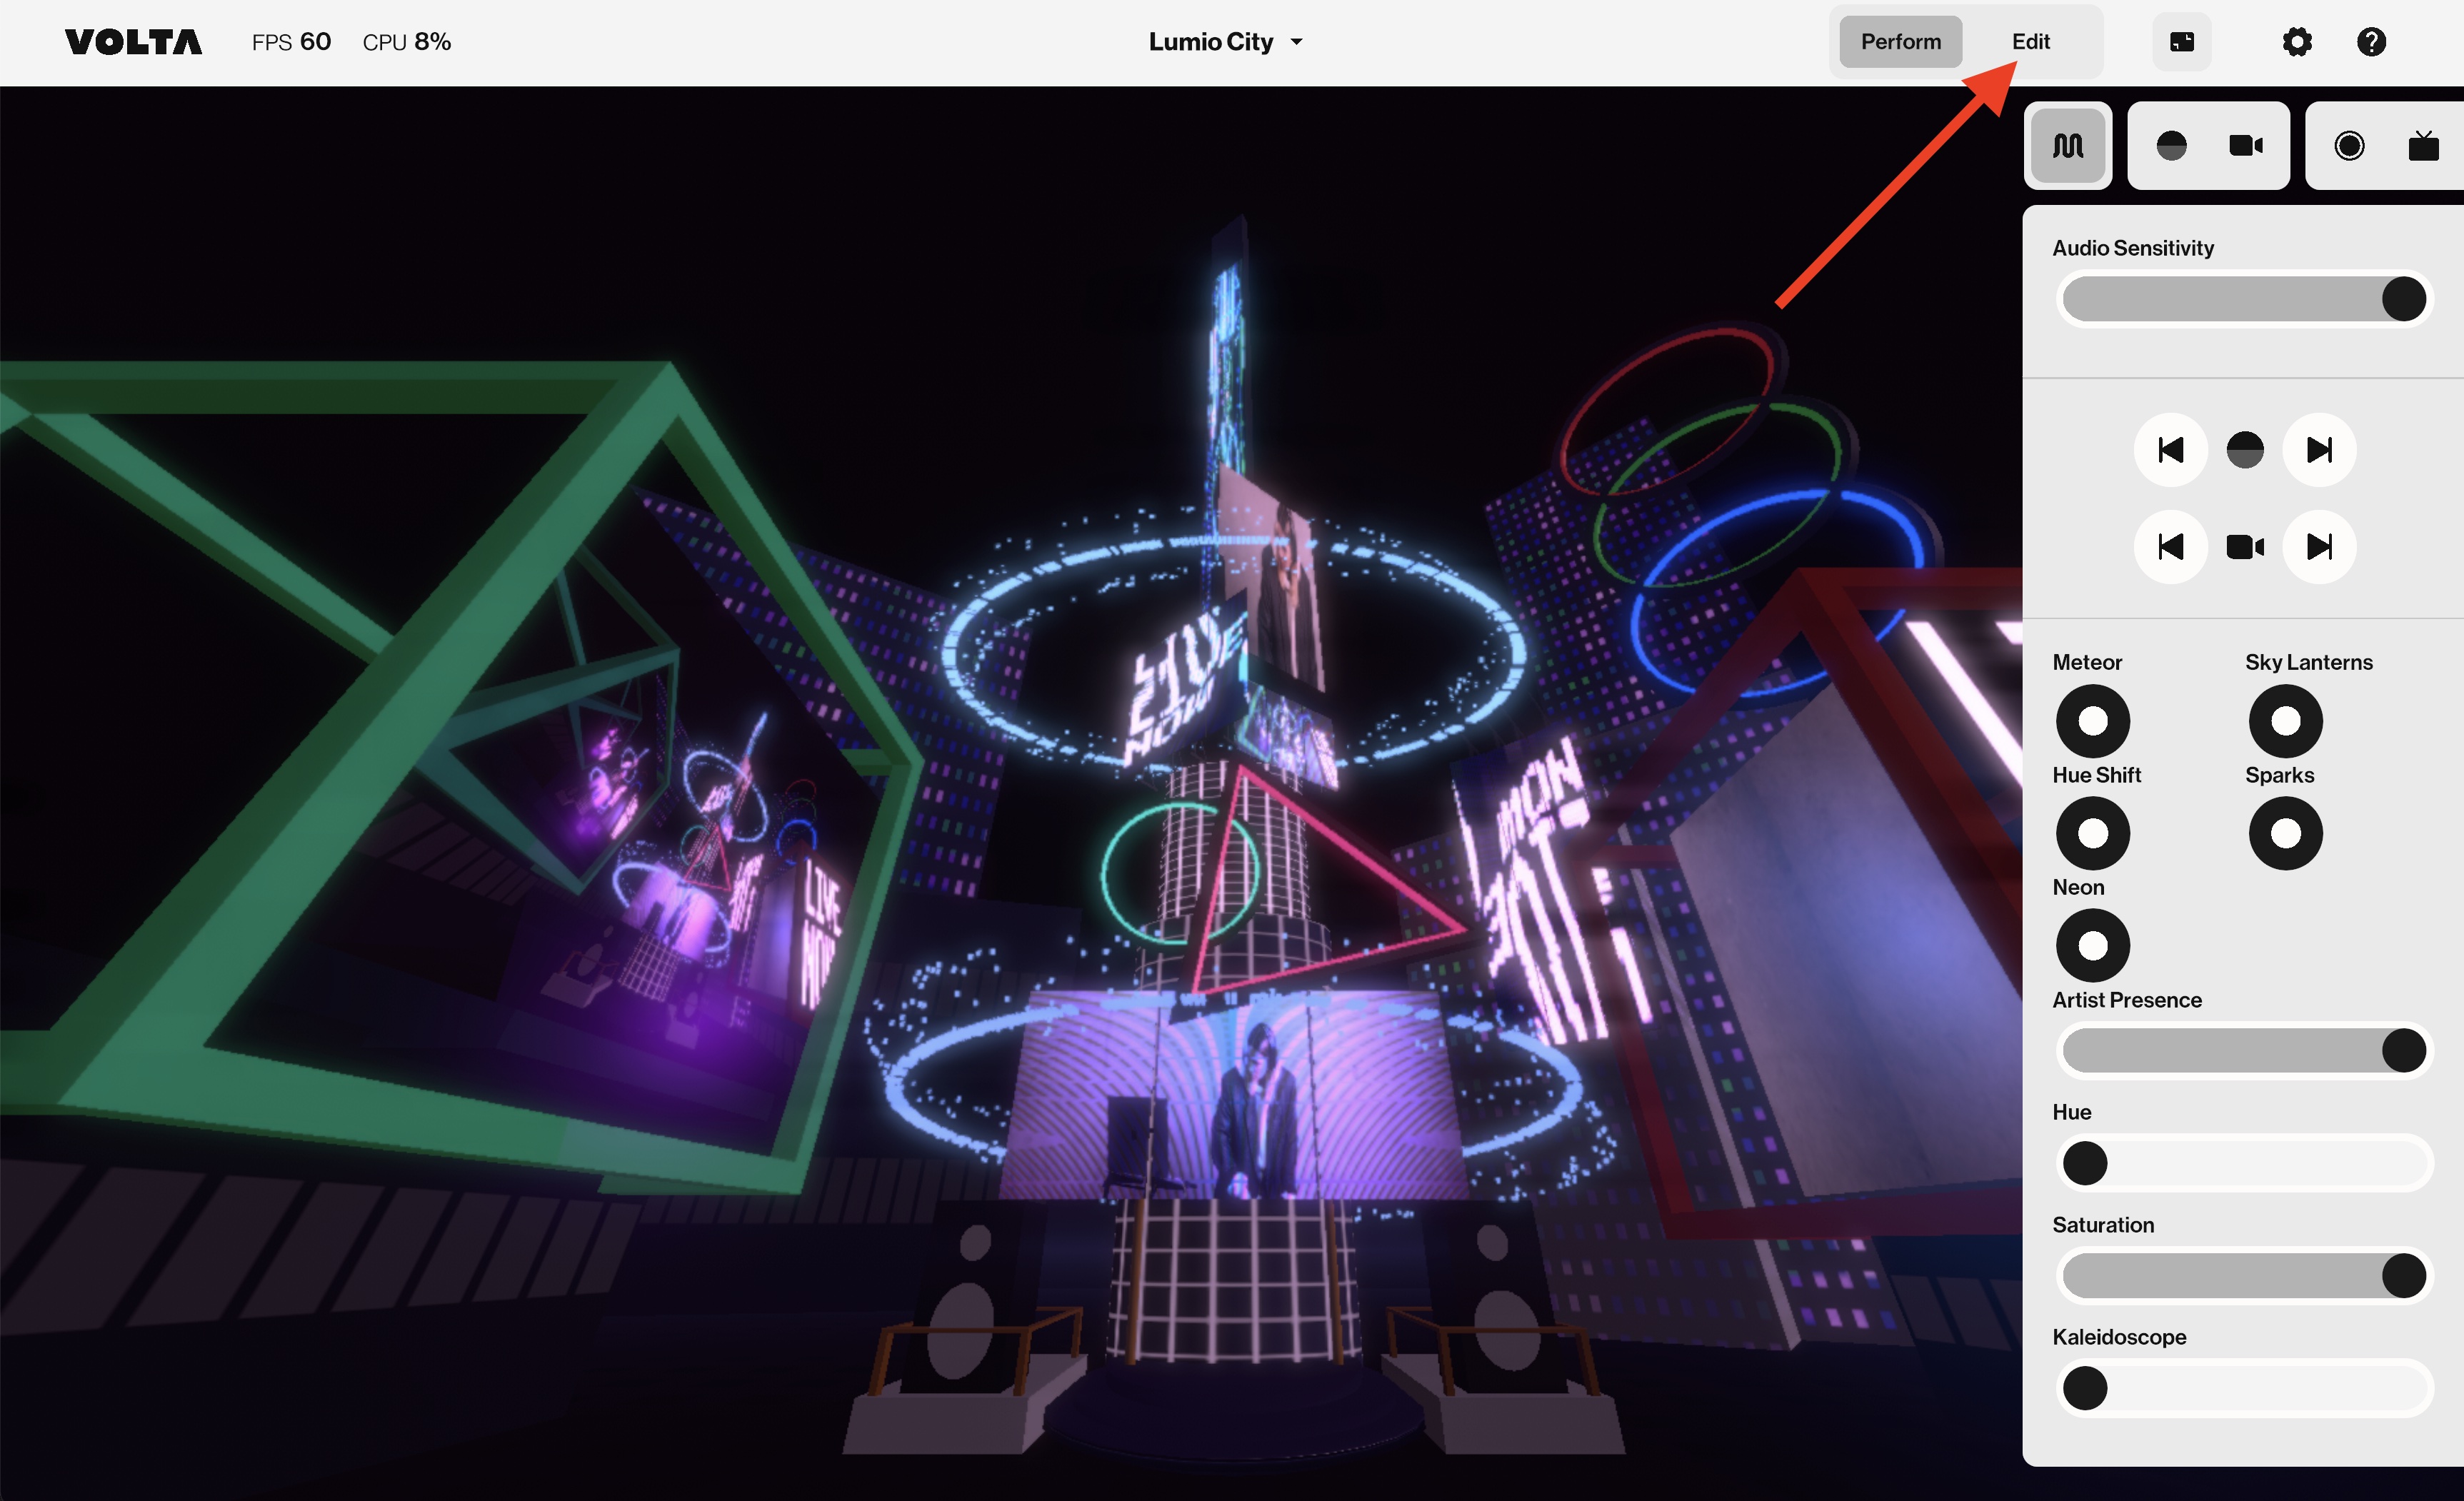
You’ll need to be in Edit Mode to be able to follow this tutorial. You access Edit Mode through the toggle button at the top bar at the right of Volta.
💡 If you haven’t yet, please follow this tutorial to have an overview of Volta’s features and interface.
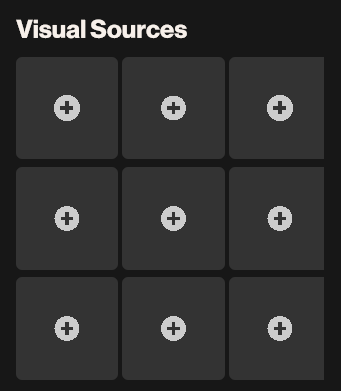
1. Go to an empty Thumbnail of your Visual Sources in the Scene Tab, and click the + button within the Thumbnail
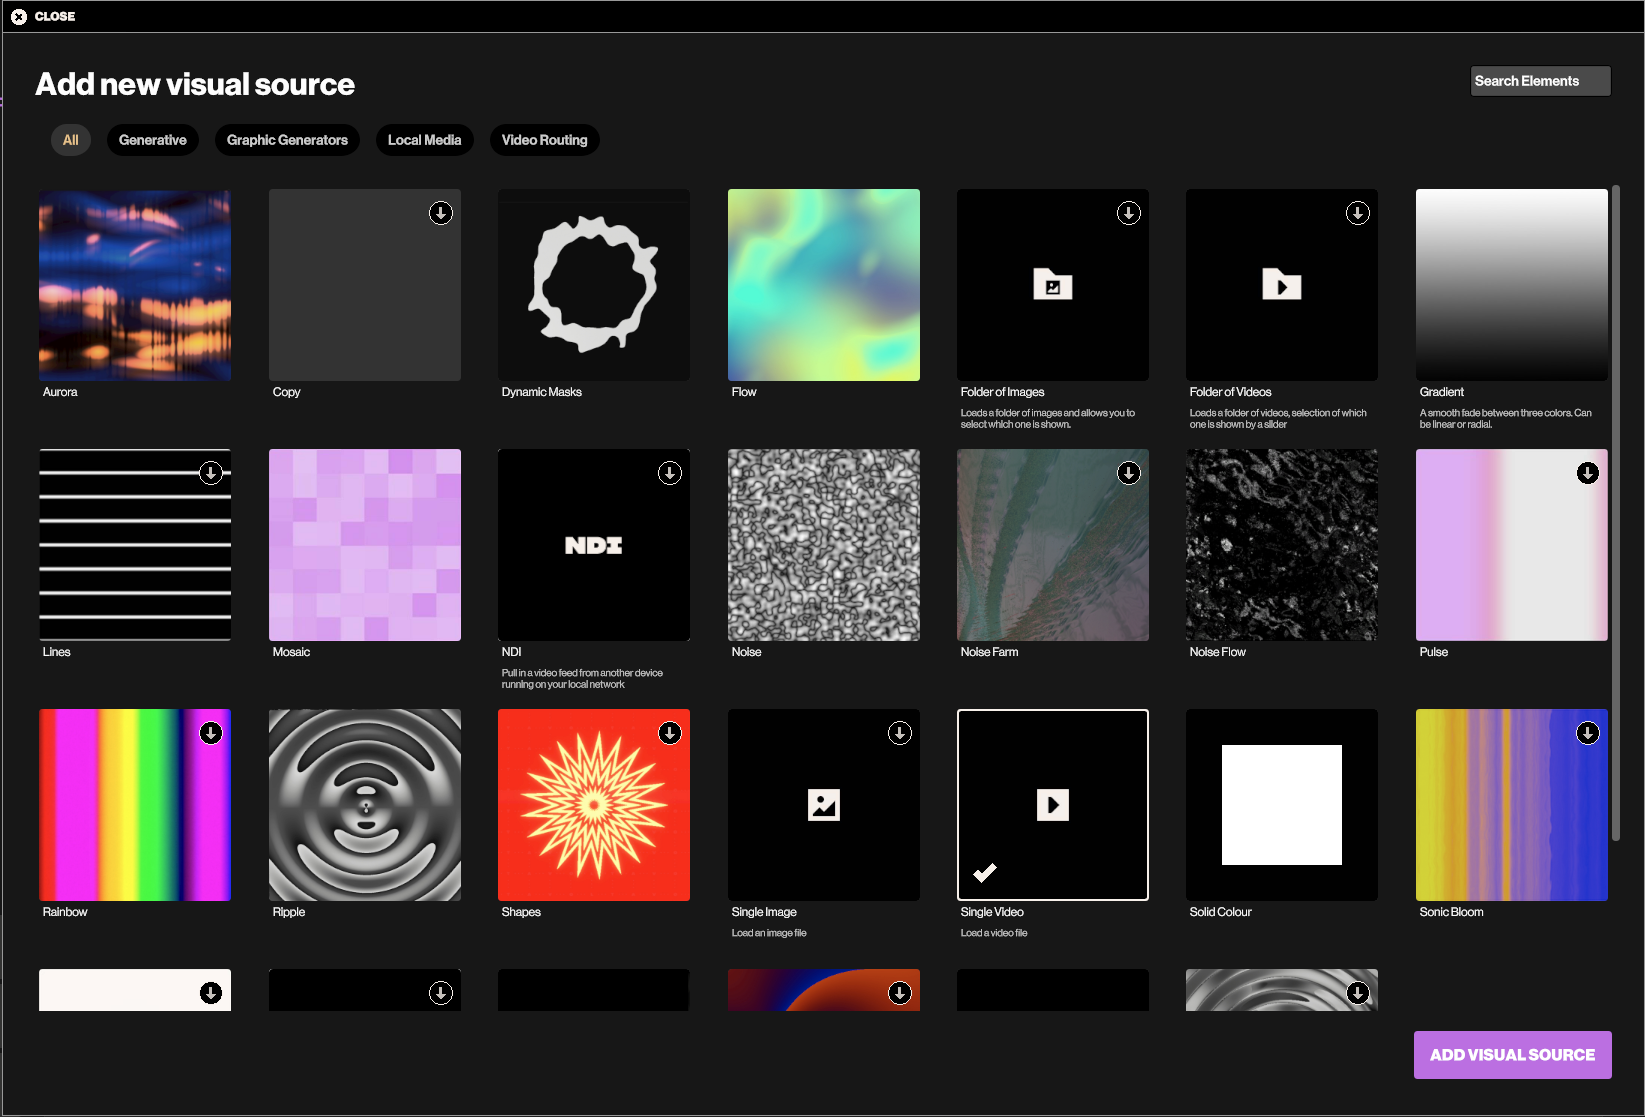
2. Now you have various options to choose from:
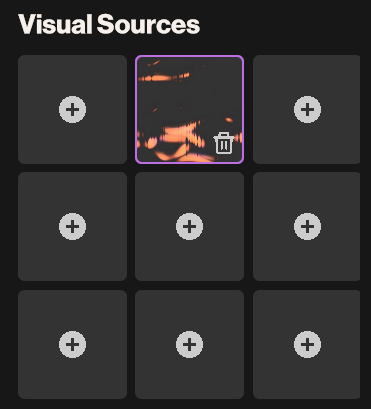
3. Now you have already created a visual source.
To make visual sources visible in the Volta Scene, they need to be assigned to an element. Here's how you can assign a source to an element:
1. Select or add an element, such as a Surface, to which you want to add a visual source.
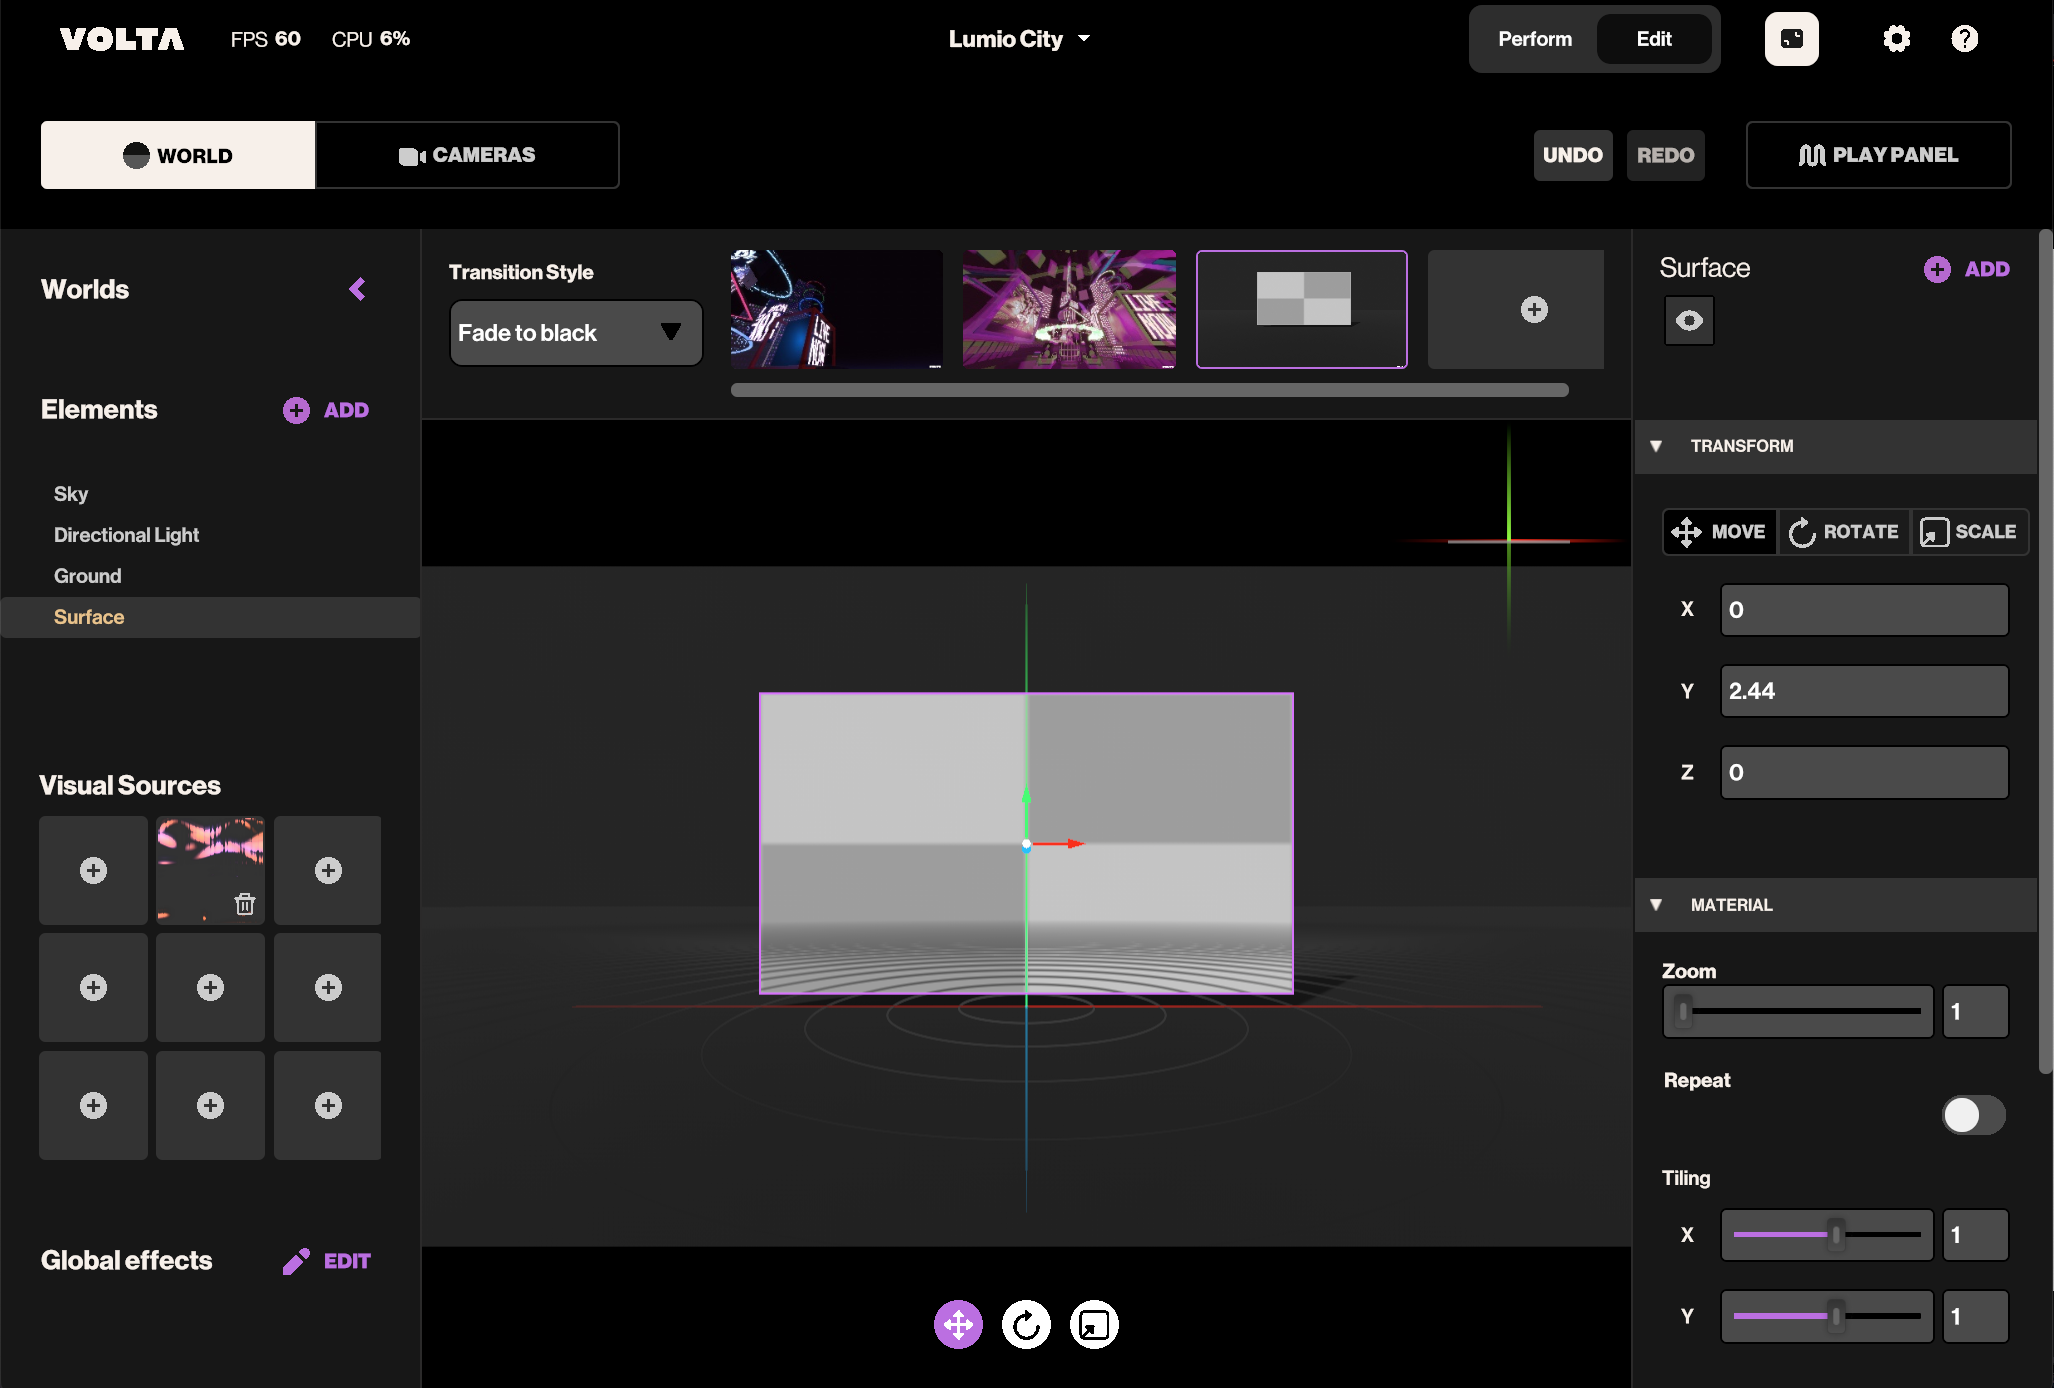
2. In the Inspector, search for a thumbnail field named 'Visual Source' (Texture, Image) and click on it.
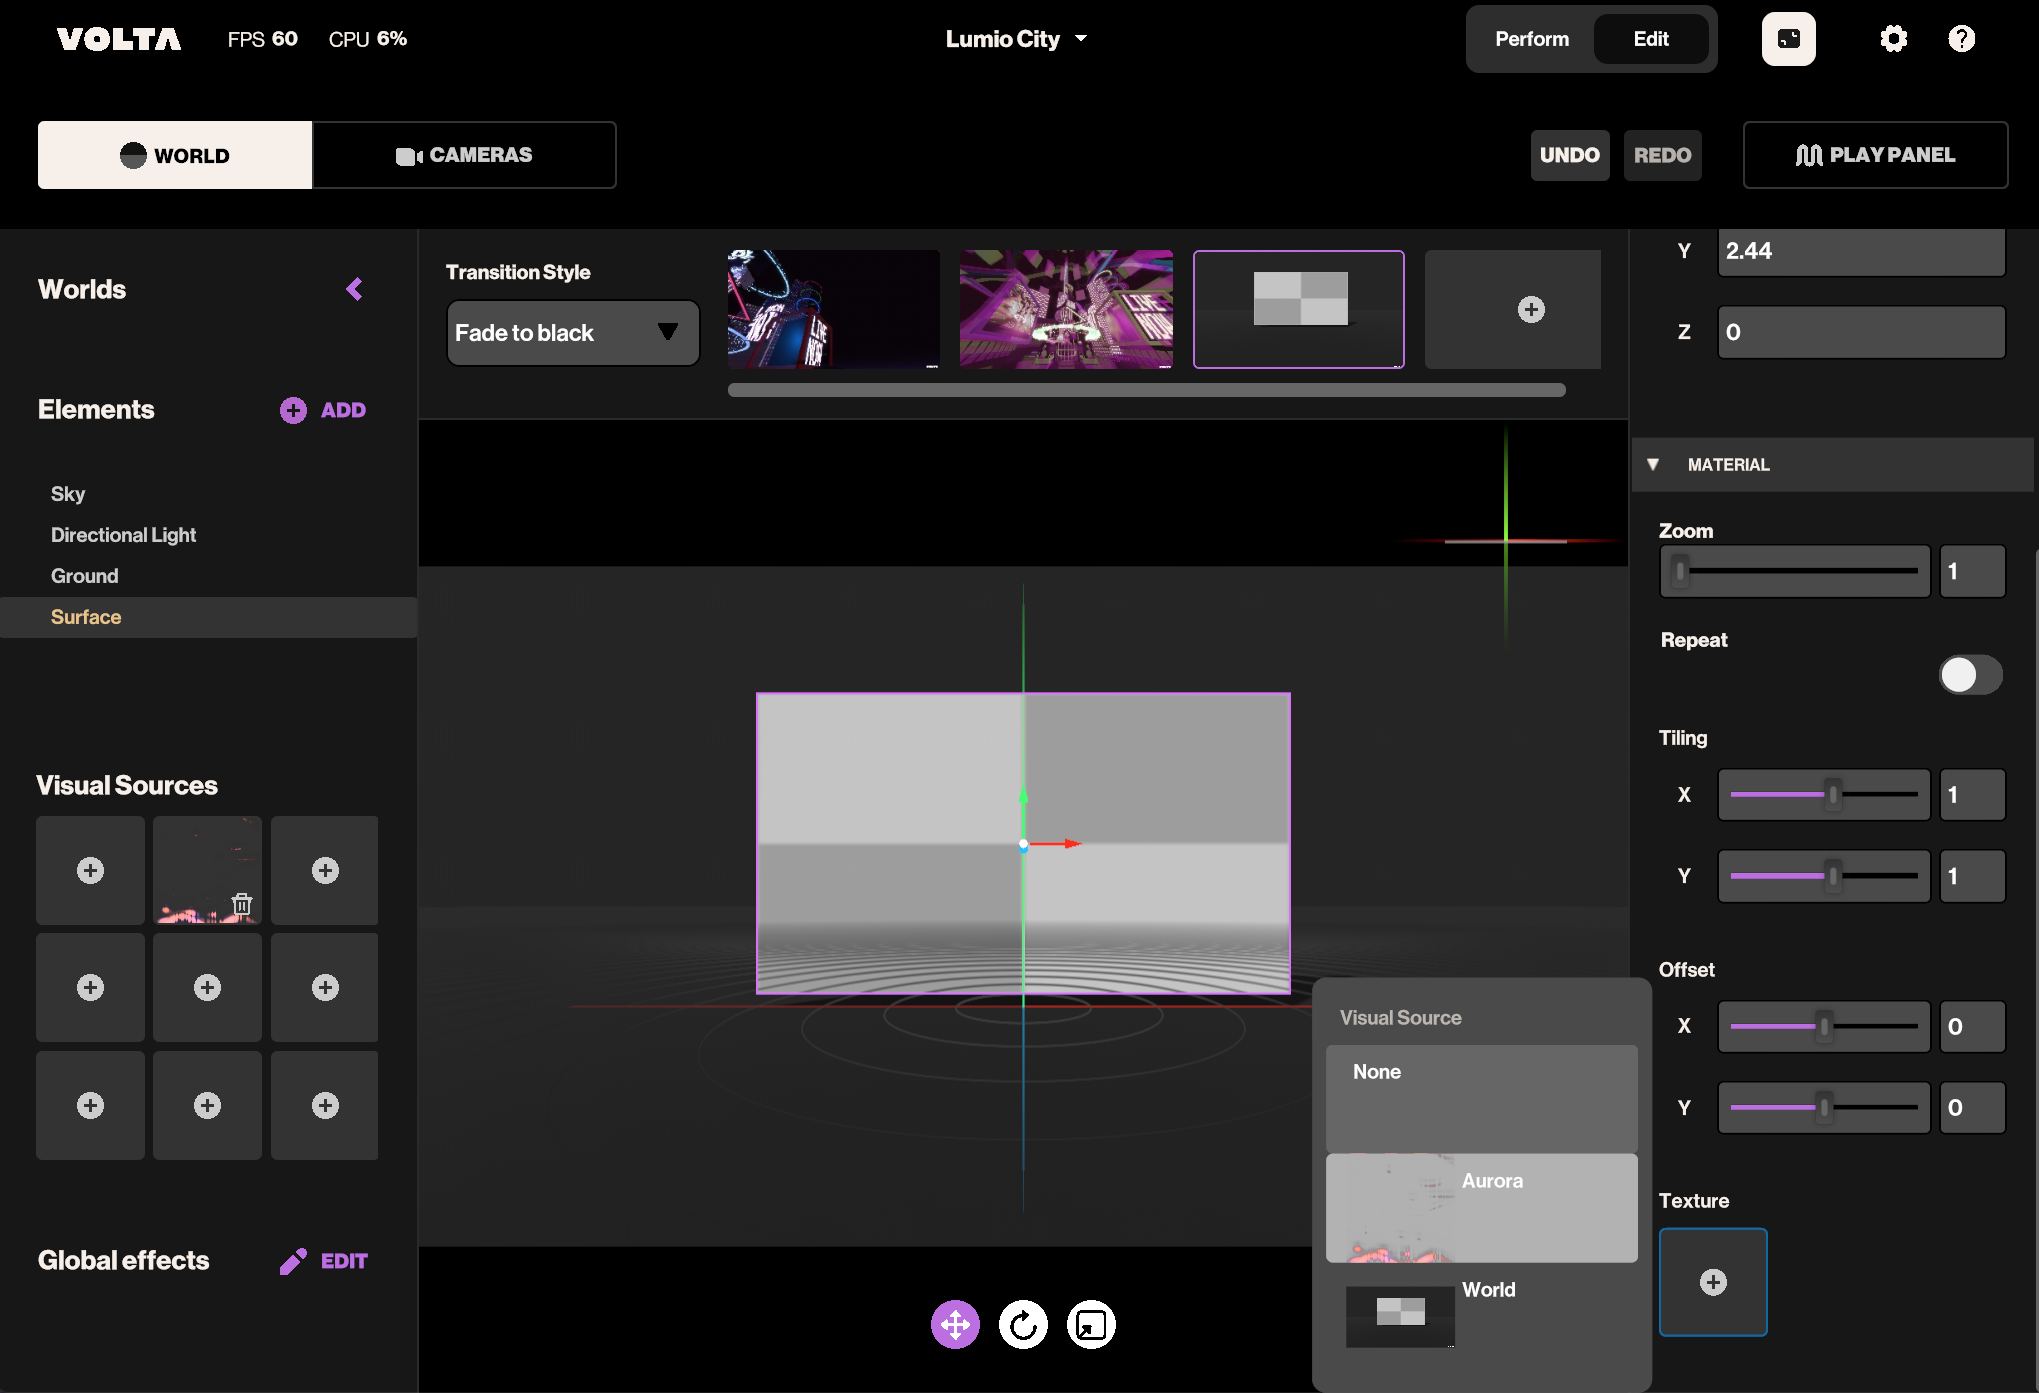
3. The visual sources list will be displayed. Please select the one you want to assign.

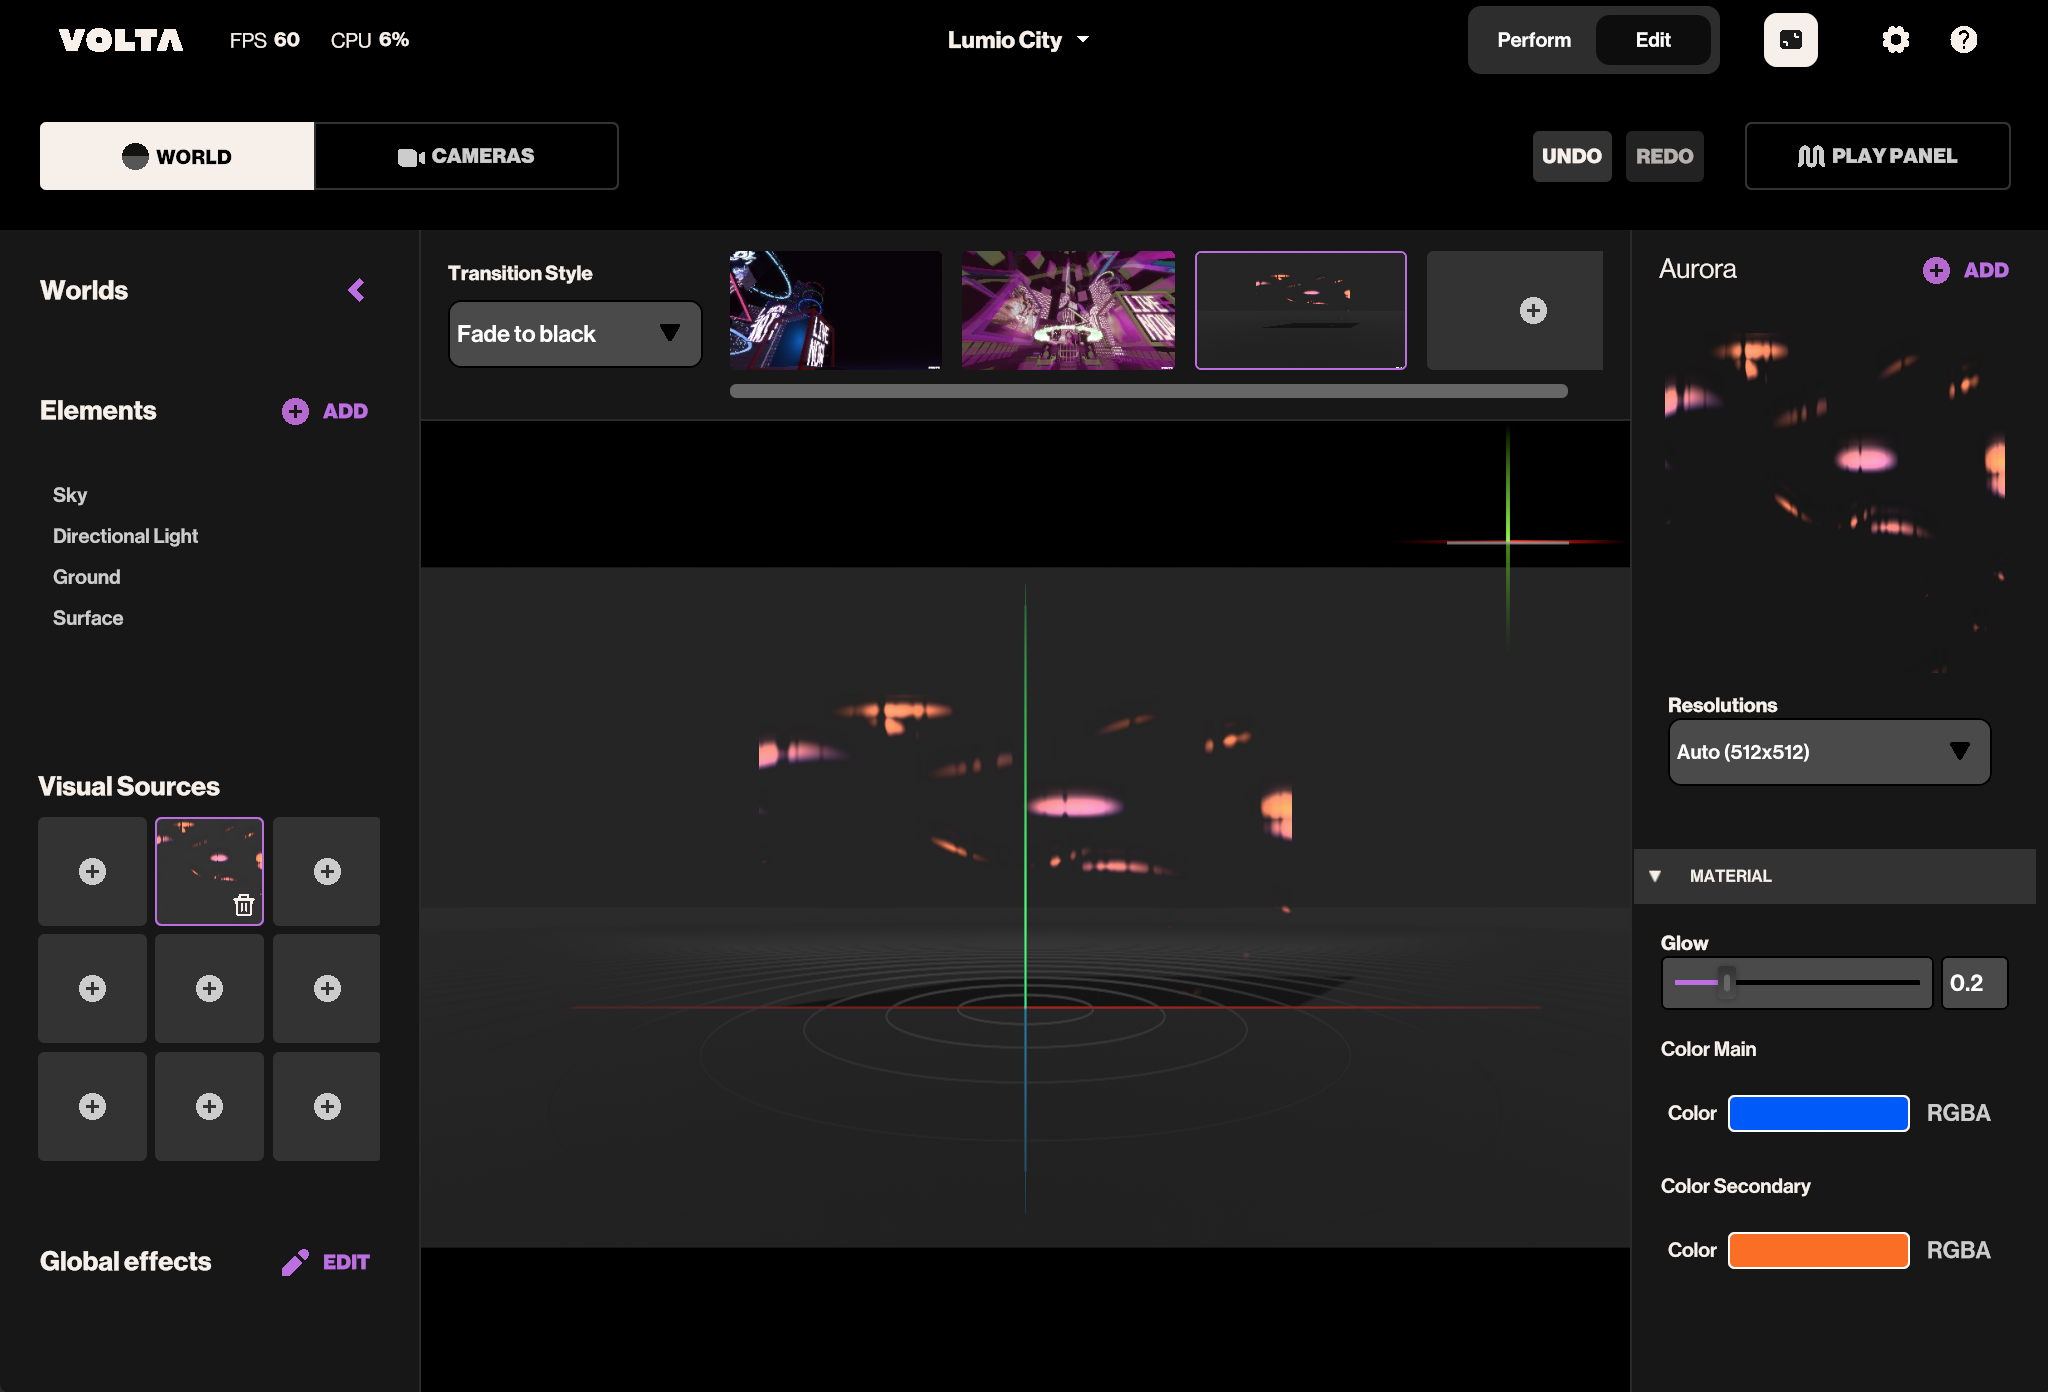
To edit your visual source, select it from the Visual Sources List. Each source will have different options available for editing in the Inspector.
By default, Auto Resolution is selected, which uses the original resolution from the visual source you have added. If you want to optimize performance, choose a lower resolution.
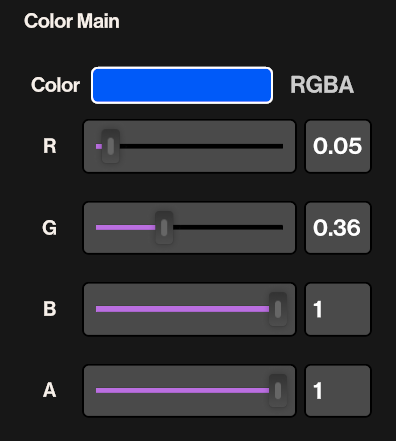
Colors in Volta are defined using the RGBA (Red, Green, Blue, Alpha) color model. To achieve the desired color, you will need to adjust the values of the RGB components. The Alpha component represents transparency, allowing you to make the color more or less intense.
Do you still have questions?
Please feel free to contact us, and we'll be happy to help clear things up for you.


